ISOLATION BIKING: 1X Drivetrain Care
How often do you lube your chain; after each and every ride, once a week or only when it starts to squeak? And what about cleaning; how often should the chain be degreased?
Well there's no time like the present to practice those essential DIY skills. Here’s some general advice that will help you get the most out of your drivetrain.
What is Wear?
Let’s start by looking at what drivechain wear actually is, beginning with the chain. Each link in the chain consists of two inner and two outer plates, a pair of rollers and pins to hold it all together. There are also bushings that the rollers sit on, but on a modern chain these are formed as part of the inner plate.
You’ve probably heard people refer to ‘chain stretch’. This is when the individual chain components wear; the pins, rollers and the bushings are ground away. A tiny amount of play in these parts means the chain gets longer—that’s the stretch that people refer to.
As the distance between each pin grows, the other drivetrain components wear to match the ‘stretched’ chain. With this, the ‘valley’ between each tooth grows wider and the teeth themselves become more pointed with a slight hook on one side. A chain can be quite worn and it’ll continue to function, so long as the chainring and cassette are worn to match.
The problem occurs when you decide it’s time to fit a fresh chain, as it won’t mesh well with the worn teeth. If the drivetrain is too worn, the new chain may run rough and will suffer accelerated wear. If the teeth are really worn, the new chain will slip under heavy pedalling load—a potentially dangerous issue. It’s worth avoiding; especially if you’re running an expensive 11 or 12-speed cassette.
In Tune with your Chain
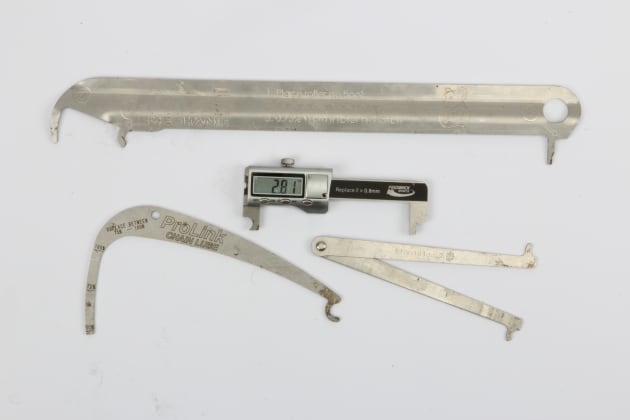
It’s certainly possible to fit a new chain and retain your existing drivetrain components. The key is to replace the chain before it wears too much. To do this you can track the chain wear with a purpose built tool or simply measure it with a ruler.
Chain checkers come in many different styles and you’ll find wide-ranging opinions on which is best. I feel that any measuring device from a reputable brand is better than guessing. Some devices provide a simple ‘good’ or ‘replace’ indication of the wear while others show the wear incrementally and let you decide how far you’ll push it.
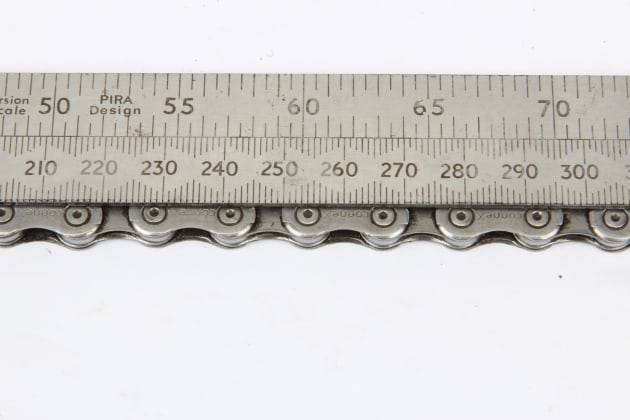
The ruler can be quite accurate, although a little awkward to hold. Align the zero with the centre of a pin and measure 10 full links along—that’s 20 half links if you count the inner and outer plates of the chain separately. On a brand new chain, the centre of the pin should align with 25.4cm on the ruler (10-inches). If the pin sits at the 25.5mm mark, it’s time to consider chain replacement if you’re aiming to keep the cassette and chain for the long-term. If the wear has crept up towards 25.6mm, you’ll see accelerated wear on the new chain and by the time it reaches 25.7cm the whole drivetrain is pretty stuffed!
This approach works well if you want to keep your bike running with a smooth and efficient drivetrain. It’s the preferred option if you’ve got an expensive XX1 cassette; they can cost around $600 where a new chain is closer to $100. With this you’re better off replacing a few chains rather than the cassette.
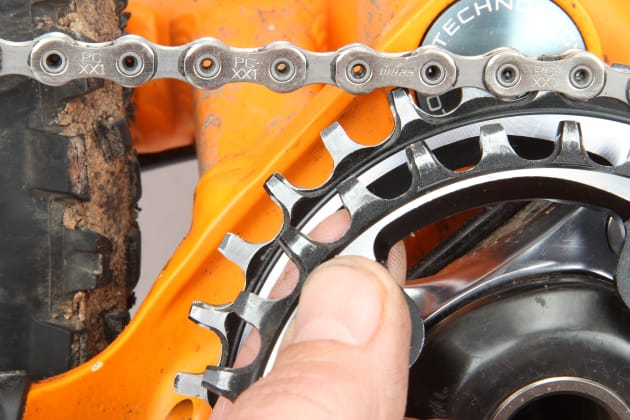
With 1X drivetrains it’s equally important to keep a close eye on chainring wear, as it cops all of the wear, all of the time. They aren’t the most expensive item so it’s good practice to fit a new one every now and then; a new ring with your third replacement chain is fairly safe.
Ride it Dead
Another approach is to simply ride; ignore the chain wear indicators and just keep going! A chain will continue to function well past the wear point that we mentioned before. Sure it won’t be as efficient but it’ll still work fine with the wear-matched chainring and cassette. When things really fall apart with drivetrain roughness and poor shifting, you’ll need to replace the entire system; chain, chainring and cassette. Things won’t be as reliable if you travel this path but it may be more cost effective if you’re not running an uber-expensive cassette.
Care & Cleaning
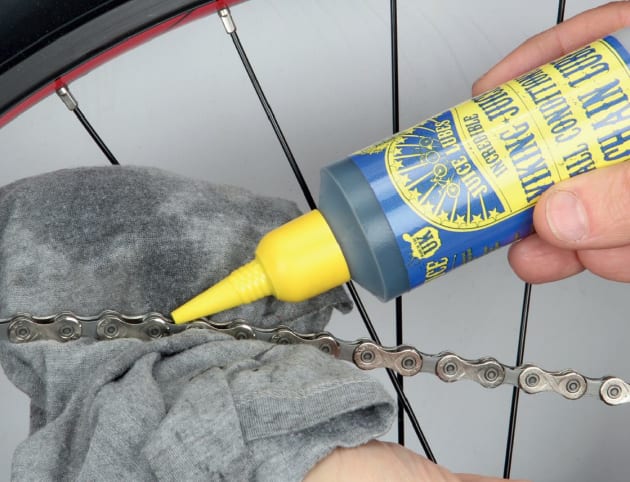
Tracking chain wear is one thing but minimising it to begin with is of equal importance. Start by wiping the chain over after every off-road ride. Backpedal whilst holding a rag around the chain and apply some lube to assist with flushing any crud from within the rollers. This works best with a lighter viscosity lube and some lubes are actually designed to be ‘self-cleaning’. Keep wiping and lubing until the rag still looks reasonably clean after coming in contact with the chain. You want the lube inside the pins and rollers, not on the outside where it’ll attract dirt.
By following this post-ride cleaning regime, you’ll have less muck build-up and you’re less likely to need a full drivetrain degrease. In time however, the drivetrain will need a more thorough going over—especially if you’ve ridden in particularly muddy conditions.
The best way to do a full degrease is to remove the chain completely and soak it in a tub of degreaser. It’s vital that you get any residual degreaser back out of the chain—compressed air can help with this. You also need to consider that most modern chains have single-use joining links or pins, so you need to have spare joiners on hand whenever you remove the chain.
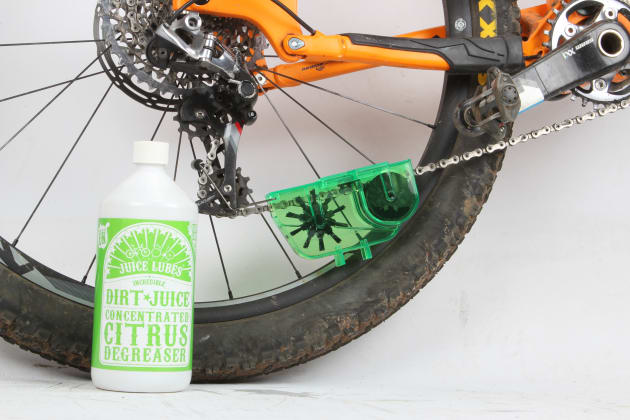
One alternative is an on-the-bike chain cleaner. These can do a good job at cleaning but it’s harder to flush the degreaser residue out when the chain is still on the bike. Care also needs to be taken not to splash any muck across to the brake rotor.
A regular wipe over and lube routine is generally better than frequent degreasing. Find a lube that works well in your riding conditions; opt for something that doesn’t attract dirt but lubricates for long enough to get you through a ride without it feeling dry and squeaky by the end. With regular care you will be more familiar with how your chainring should look and you’ll be better equipped to spot drivetrain wear.
Care for your bike and it’ll cost you less in the long run.
